# Indiko
No that was not a typo the project's name actually is `indiko`! This is a small implementation of [IndieAuth](https://indieweb.org/How_to_set_up_web_sign-in_on_your_own_domain) running on bun with sqlite and serving as the authentication provider for my homelab / side projects it also supports custom clients with roles over the OAuth 2.0 spec.
The canonical repo for this is hosted on tangled over at [`dunkirk.sh/indiko`](https://tangled.org/@dunkirk.sh/indiko)
## Quick Start
### Prerequisites
- [Bun](https://bun.sh) v1.0 or higher
- A domain with HTTPS (required for WebAuthn)
### Installation
1. Clone the repository:
```bash
git clone https://github.com/taciturnaxolotl/indiko.git
cd indiko
```
2. Install dependencies:
```bash
bun install
```
3. Create a `.env` file:
```bash
cp .env.example .env
```
Configure the following environment variables:
```env
ORIGIN=https://your-indiko-domain.com
RP_ID=your-indiko-domain.com
PORT=3000
NODE_ENV=production
```
- `ORIGIN` - Full URL where Indiko is hosted (must match RP_ID)
- `RP_ID` - Domain for WebAuthn (no protocol, matches ORIGIN domain)
- `PORT` - Port to run the server on
- `NODE_ENV` - Environment (dev/production)
The database will be automatically created at `./indiko.db` on first run.
4. Start the server:
```bash
# Development (with hot reload)
bun run dev
# Production
bun run start
```
### First User Setup
On first run, you'll need to create an admin user:
1. Visit `https://your-indiko-domain.com/login`
2. Register with a passkey
3. This first user will automatically be an admin
After the first user is created, the bootstrap invite is disabled. Subsequent users must be invited by an admin.
## Usage
### Client Types
Indiko supports two types of OAuth clients:
#### Auto-registered Clients (IndieAuth)
Any app can use Indiko without admin approval. On first authorization:
- Use any valid URL as your `client_id` (e.g., `https://myapp.example.com`)
- Indiko fetches metadata from your `client_id` URL
- App is automatically registered
- **MUST use PKCE** (code_verifier) for security
- **No client secret** (public client)
- Cannot use role-based access control
This is perfect for IndieAuth-compatible apps and personal projects.
#### Pre-registered Clients (OAuth 2.0 with Secrets)
For apps requiring client secrets or role-based access control, admins can pre-register clients:
1. Go to `/admin/clients`
2. Click "Create OAuth Client"
3. Fill in:
- **Name** - Display name for your app
- **Logo URL** - (Optional) URL to app logo
- **Description** - (Optional) Brief description
- **Redirect URIs** - One or more OAuth callback URLs
- **Available Roles** - (Optional) Define roles users can be assigned
- **Default Role** - (Optional) Auto-assign this role on first auth
4. Save and copy the generated credentials:
- **Client ID** - Format: `ikc_xxxxxxxxxxxxxxxxxxxxx`
- **Client Secret** - Format: `iks_xxxxxxxxxxxxxxxxxxxxxxxxxxxxxxxxxxxxxxxxxxx`
> [!IMPORTANT]
> The client secret is only shown once! Save it securely.
**Pre-registered clients:**
- **MUST use both PKCE and client_secret** in token requests
- Support role assignment for RBAC (Role-Based Access Control)
- Admin-managed metadata and permissions
- Generated client ID format: `ikc_` prefix
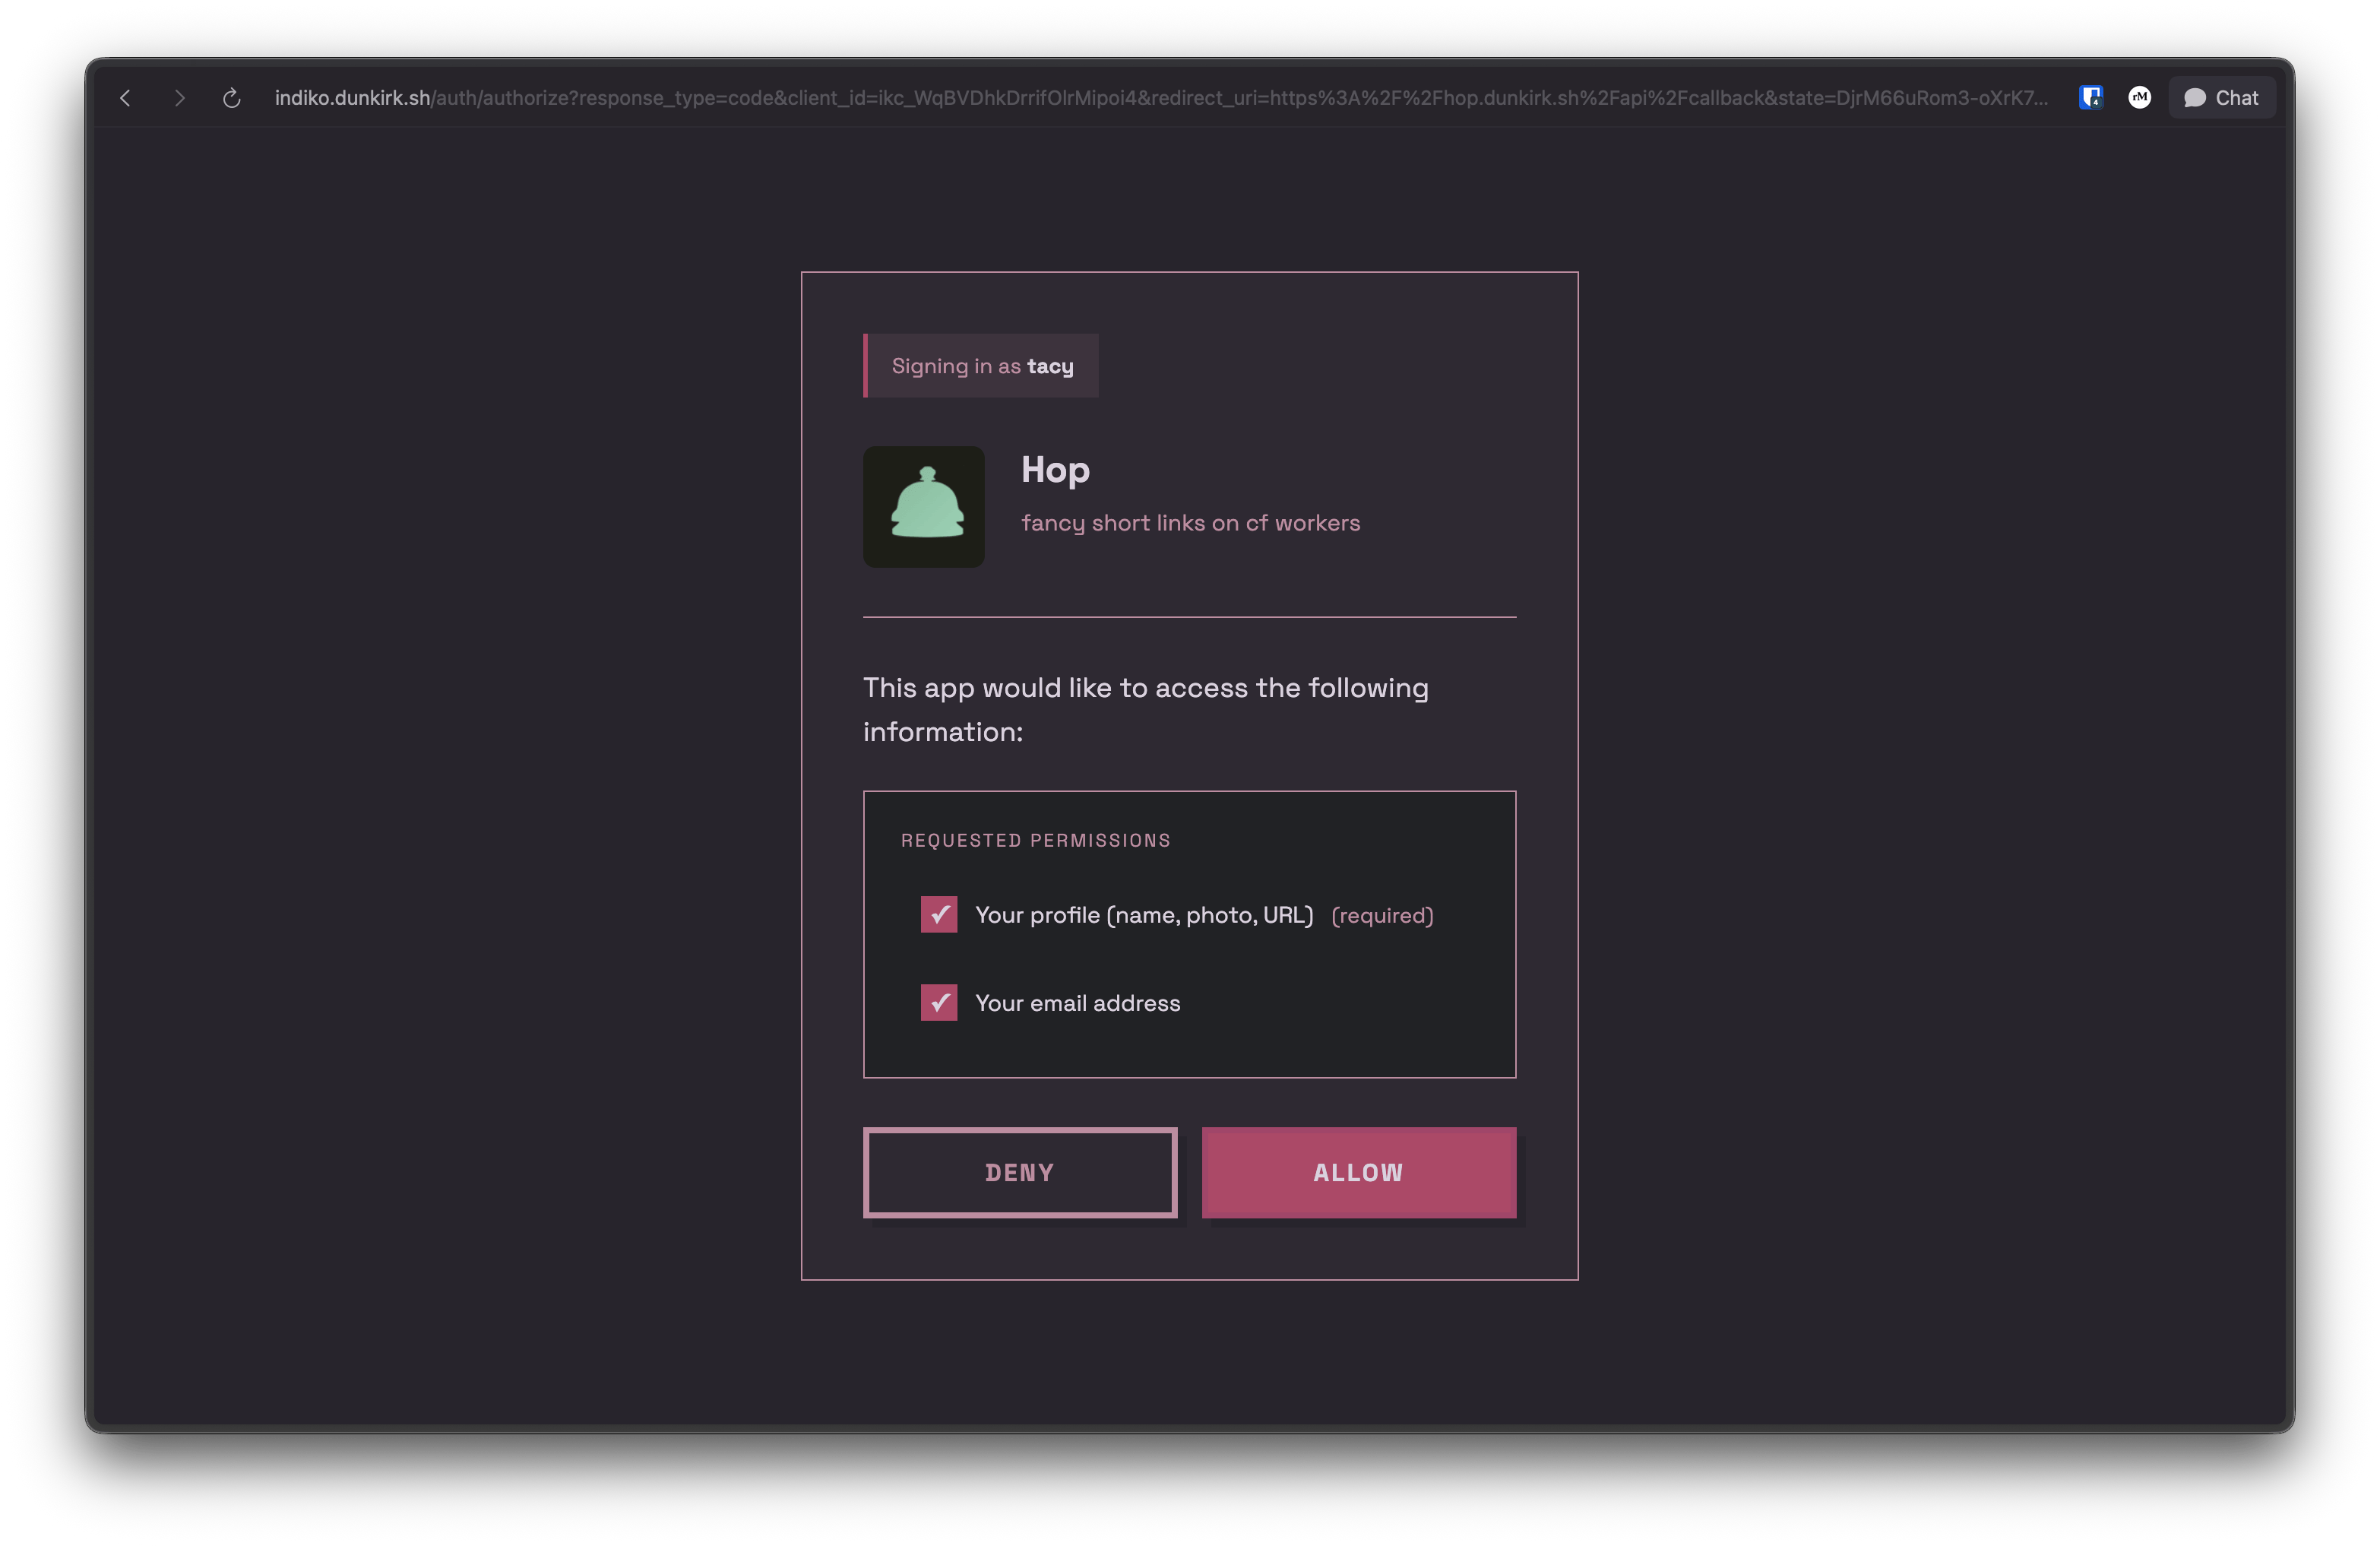
### Using as an IndieAuth Provider
Add these tags to your website's ``:
```html
```
Now you can sign in to IndieAuth-compatible sites using `https://your-domain.com/` as your identity.
### Using as an OpenID Connect (OIDC) Provider
Indiko also supports OpenID Connect (OIDC) for modern authentication flows:
**Discovery endpoint:**
```
https://your-indiko-domain.com/.well-known/openid-configuration
```
**Key features:**
- Authorization Code Flow with PKCE
- ID Token with RS256 signing
- JWKS endpoint for token verification
- Support for `openid`, `profile`, and `email` scopes
- Userinfo endpoint for retrieving user claims
Test your OIDC setup using the [OIDC Debugger](https://oidcdebugger.com/).
## API Reference
### OAuth 2.0 / OpenID Connect Endpoints
- `GET /auth/authorize` - Authorization endpoint (OAuth 2.0 / OIDC)
- `POST /auth/token` - Token exchange endpoint (returns access token and ID token for OIDC)
- `GET /userinfo` - OIDC userinfo endpoint (returns user claims)
- `GET /.well-known/openid-configuration` - OIDC discovery document
- `GET /jwks` - JSON Web Key Set for ID token verification
- `POST /auth/logout` - Session logout
### User Profile
- `GET /u/:username` - Public h-card profile
### Admin API (requires admin token)
- `GET /api/admin/users` - List all users
- `POST /api/admin/invites` - Create invite
- `GET /api/admin/invites` - List invites
- `GET /api/admin/clients` - List OAuth clients
- `POST /api/admin/clients` - Create OAuth client
- `GET /api/admin/clients/:clientId` - Get client details
- `PUT /api/admin/clients/:clientId` - Update client
- `DELETE /api/admin/clients/:clientId` - Delete client
## Production Deployment
### Reverse Proxy Configuration
Indiko should be deployed behind a reverse proxy (nginx, Caddy, Traefik) for production use. The proxy should add security headers.
#### nginx Example
```nginx
server {
listen 443 ssl http2;
server_name auth.example.com;
ssl_certificate /path/to/cert.pem;
ssl_certificate_key /path/to/key.pem;
# Security headers
add_header X-Frame-Options "DENY" always;
add_header X-Content-Type-Options "nosniff" always;
add_header X-XSS-Protection "1; mode=block" always;
add_header Referrer-Policy "strict-origin-when-cross-origin" always;
add_header Permissions-Policy "geolocation=(), microphone=(), camera=()" always;
add_header Strict-Transport-Security "max-age=31536000; includeSubDomains; preload" always;
# Content Security Policy
add_header Content-Security-Policy "default-src 'self'; style-src 'self' 'unsafe-inline' https://fonts.googleapis.com; font-src 'self' https://fonts.gstatic.com; img-src 'self' data: https:; script-src 'self'; connect-src 'self'; frame-ancestors 'none'; base-uri 'self'; form-action 'self';" always;
location / {
proxy_pass http://localhost:3000;
proxy_set_header Host $host;
proxy_set_header X-Real-IP $remote_addr;
proxy_set_header X-Forwarded-For $proxy_add_x_forwarded_for;
proxy_set_header X-Forwarded-Proto $scheme;
}
}
```
#### Caddy Example
```caddy
auth.example.com {
reverse_proxy localhost:3000
header {
X-Frame-Options "DENY"
X-Content-Type-Options "nosniff"
X-XSS-Protection "1; mode=block"
Referrer-Policy "strict-origin-when-cross-origin"
Permissions-Policy "geolocation=(), microphone=(), camera=()"
Strict-Transport-Security "max-age=31536000; includeSubDomains; preload"
Content-Security-Policy "default-src 'self'; style-src 'self' 'unsafe-inline' https://fonts.googleapis.com; font-src 'self' https://fonts.gstatic.com; img-src 'self' data: https:; script-src 'self'; connect-src 'self'; frame-ancestors 'none'; base-uri 'self'; form-action 'self';"
}
}
```
### Security Headers Explained
- **X-Frame-Options**: Prevents clickjacking attacks
- **X-Content-Type-Options**: Prevents MIME-sniffing
- **X-XSS-Protection**: Enables browser XSS filter
- **Referrer-Policy**: Controls referrer information
- **Permissions-Policy**: Restricts browser features
- **Strict-Transport-Security**: Enforces HTTPS
- **Content-Security-Policy**: Prevents XSS and data injection attacks
> [!NOTE]
> The CSP allows Google Fonts and user-provided profile images (`img-src https:`). Adjust based on your security requirements.
## Development
```bash
# Run with hot reload
bun run dev
# Format code
bun run format
# Type check (handled by Bun)
bun run src/index.ts
```

